So you may have seen our earlier video looking at the portrayal of PIATs in the 1978 classic A Bridge Too Far! If not check it out.
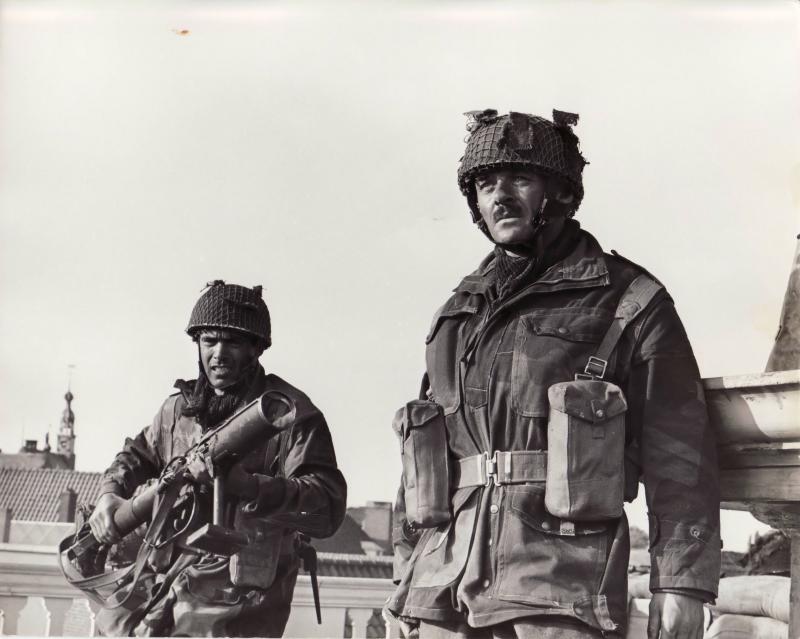
When I think of Richard Attenborough’s all-star war epic telling the story of Operation Market Garden, I immediately think of the iconic ‘BRING UP THE PIAT’ scene where Anthony Hopkins playing Colonel John Frost commanding 2 PARA calls for the Projector, Infantry, Anti-Tank to take out a marauding ‘Panther’.
But this isn’t the only scene from the film depicting the PIAT! In this video we’ll look at a couple of the other scenes showing the PIAT in action.
We first see the PIAT during the scene when the Guards Armoured Division’s spearhead meets heavy german resistance. Michael Caine’s Sherman’s get a pasting from some Pak 40s. The British infantry deploys and we see a cornucopia of kit ranging from Brens to Vickers to an M2 Browning. But blink and you’ll miss them a pair of PIAT teams also ‘bring up the PIAT’. A two man team can be seen moving forward, the No.1 carrying the PIAT and the No.2 carrying a 3 round bomb carrier, sadly killed by enemy fire.
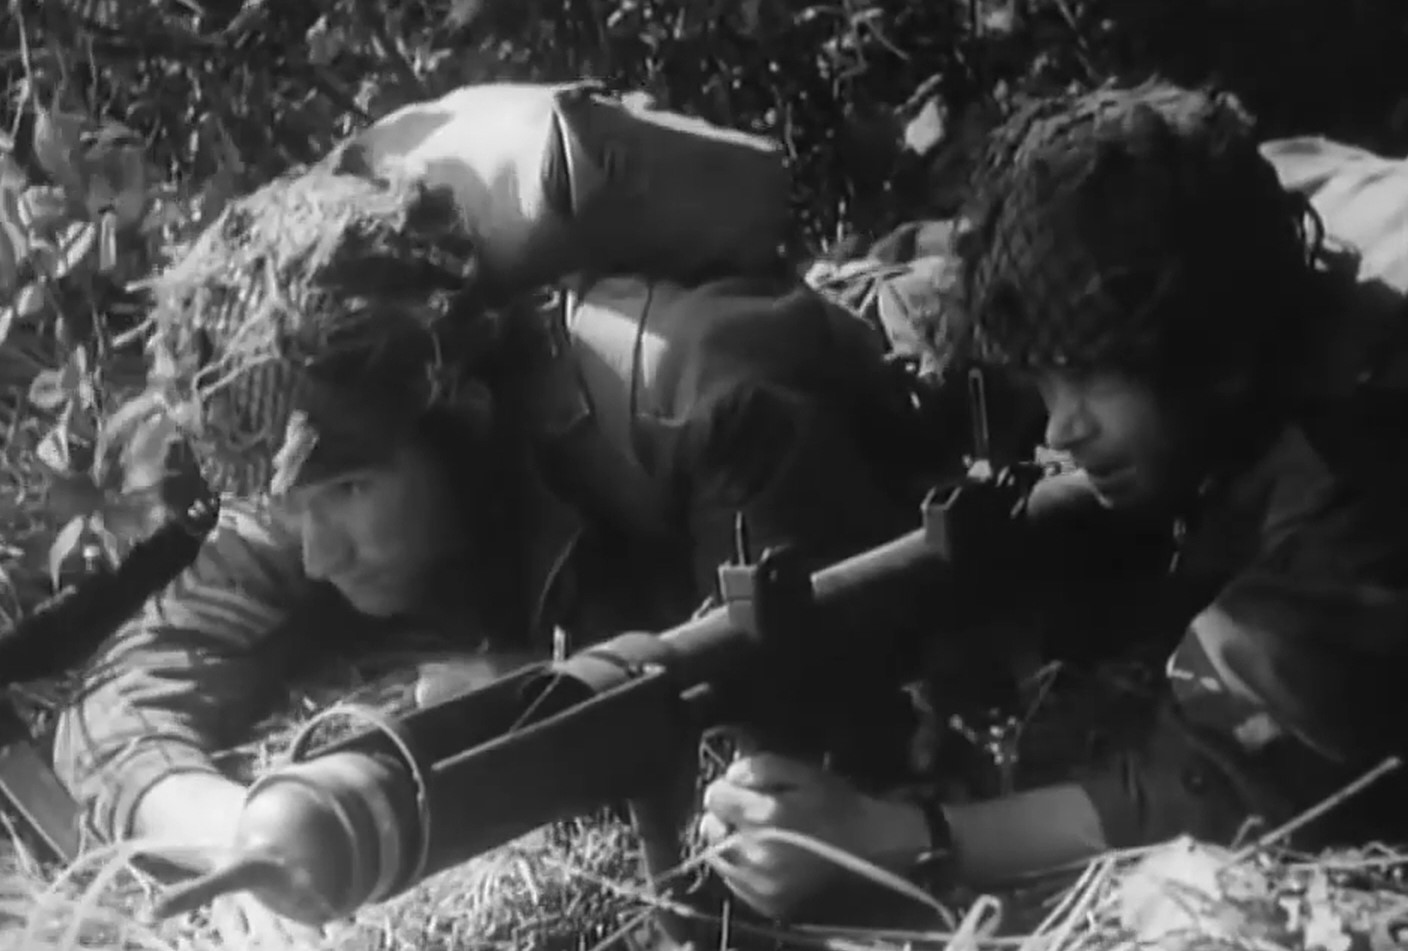
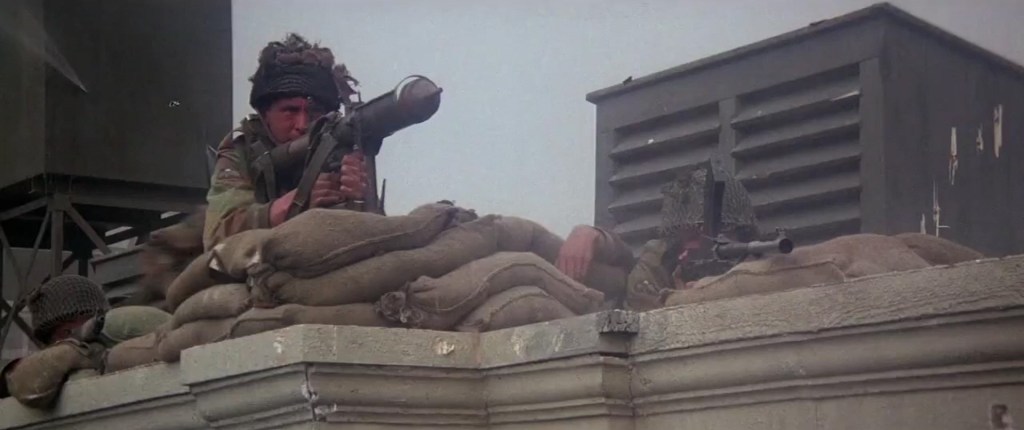
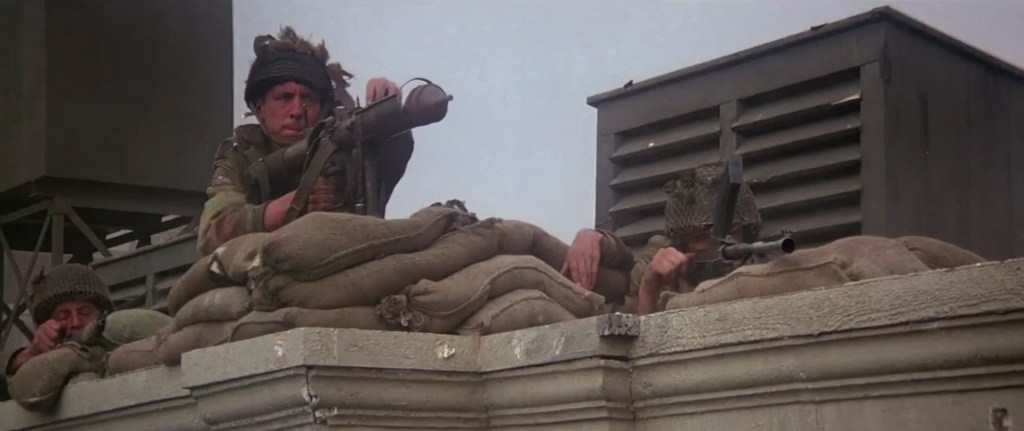
The second scene in which we see the PIAT finally get to work on some German armoured fighting vehicles is during Gräbner’s attack over the bridge. As the PARAs at the Bridge prepare for the attack we see 2 or 3 PIAT positions get ready – loading bombs into their bomb support trays. One PIAT No.1 can be seen slotting the rear of a PIAT bomb into the projectile guide plates to hold the bomb in place – very authentic.
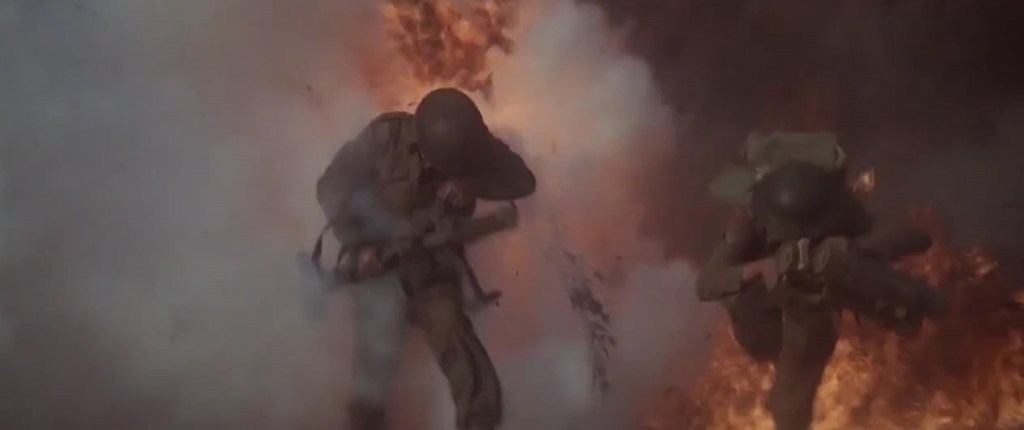
As the column crosses the Bridge Frost orders his men to open fire, Brens, Stens, Rifle No.4s and PIATs open up and the column is stopped in its tracks. During the scene we see a number of PIAT’s fire and knock out SS vehicles. One PIAT No.2 is hit by enemy fire. The first PIAT round fired hits a lead German vehicle causing it to halt, the second flips a Kubelwagen. We then see a No.2 two load a fresh bomb into the bomb support tray – with a tap to make sure its properly in place. We get a great show of the PIAT firing from the front. It’s worth noting that the PIAT doesn’t recock and the spigot is still seen in the bomb tray just before the camera cuts away. Meaning that that PIAT No.1 will have to recock his weapon before he can fire again!
It’s worth remembering without the ‘Bring Up The PIAT’ scene making a point of naming the weapon, most people would never have known what this unusual weapon that dealt so much damage in the earlier scene was! Of course the attack wasn’t stopped by PIATs alone, there were also airborne anti-tank guns, which the film doesn’t show.
Another little titbit of information I learnt since the first ‘Bring Up The PIAT’ video, thanks to my friend Robbie of RM Military History [check out his channel], is that the PIAT was fired in most of these scenes by one of the film’s armourer Bill Aylmore. The information comes from After the Battle – The Battle of Arnhem – War Film: A Bridge Too Far which describes him as formerly a sergeant with the 50th Regt. – which might be a reference to the Queen’s Own Royal West Kent Regiment. The book goes on to say that “Aylmore excelled himself during the filming of the battle on the bridge by being the ace shot with the PIAT. During all the various takes he was able to put the bomb exactly where the director wanted it and where it coincided with the special effects explosions.” – Good shooting indeed!
Check out more PIAT scene analysis videos here.
If you enjoyed these videos and this article please consider supporting our work here. We have some great perks available for Patreon Supporters. You can also support us via one-time donations here. Thank you for your support!