Note: While this collection of images covers only the externals of the G11, rest assured that if and when we get the opportunity we will follow this up with hi-res photographs of the weapon disassembled! UPDATE – We disassembled a G11!
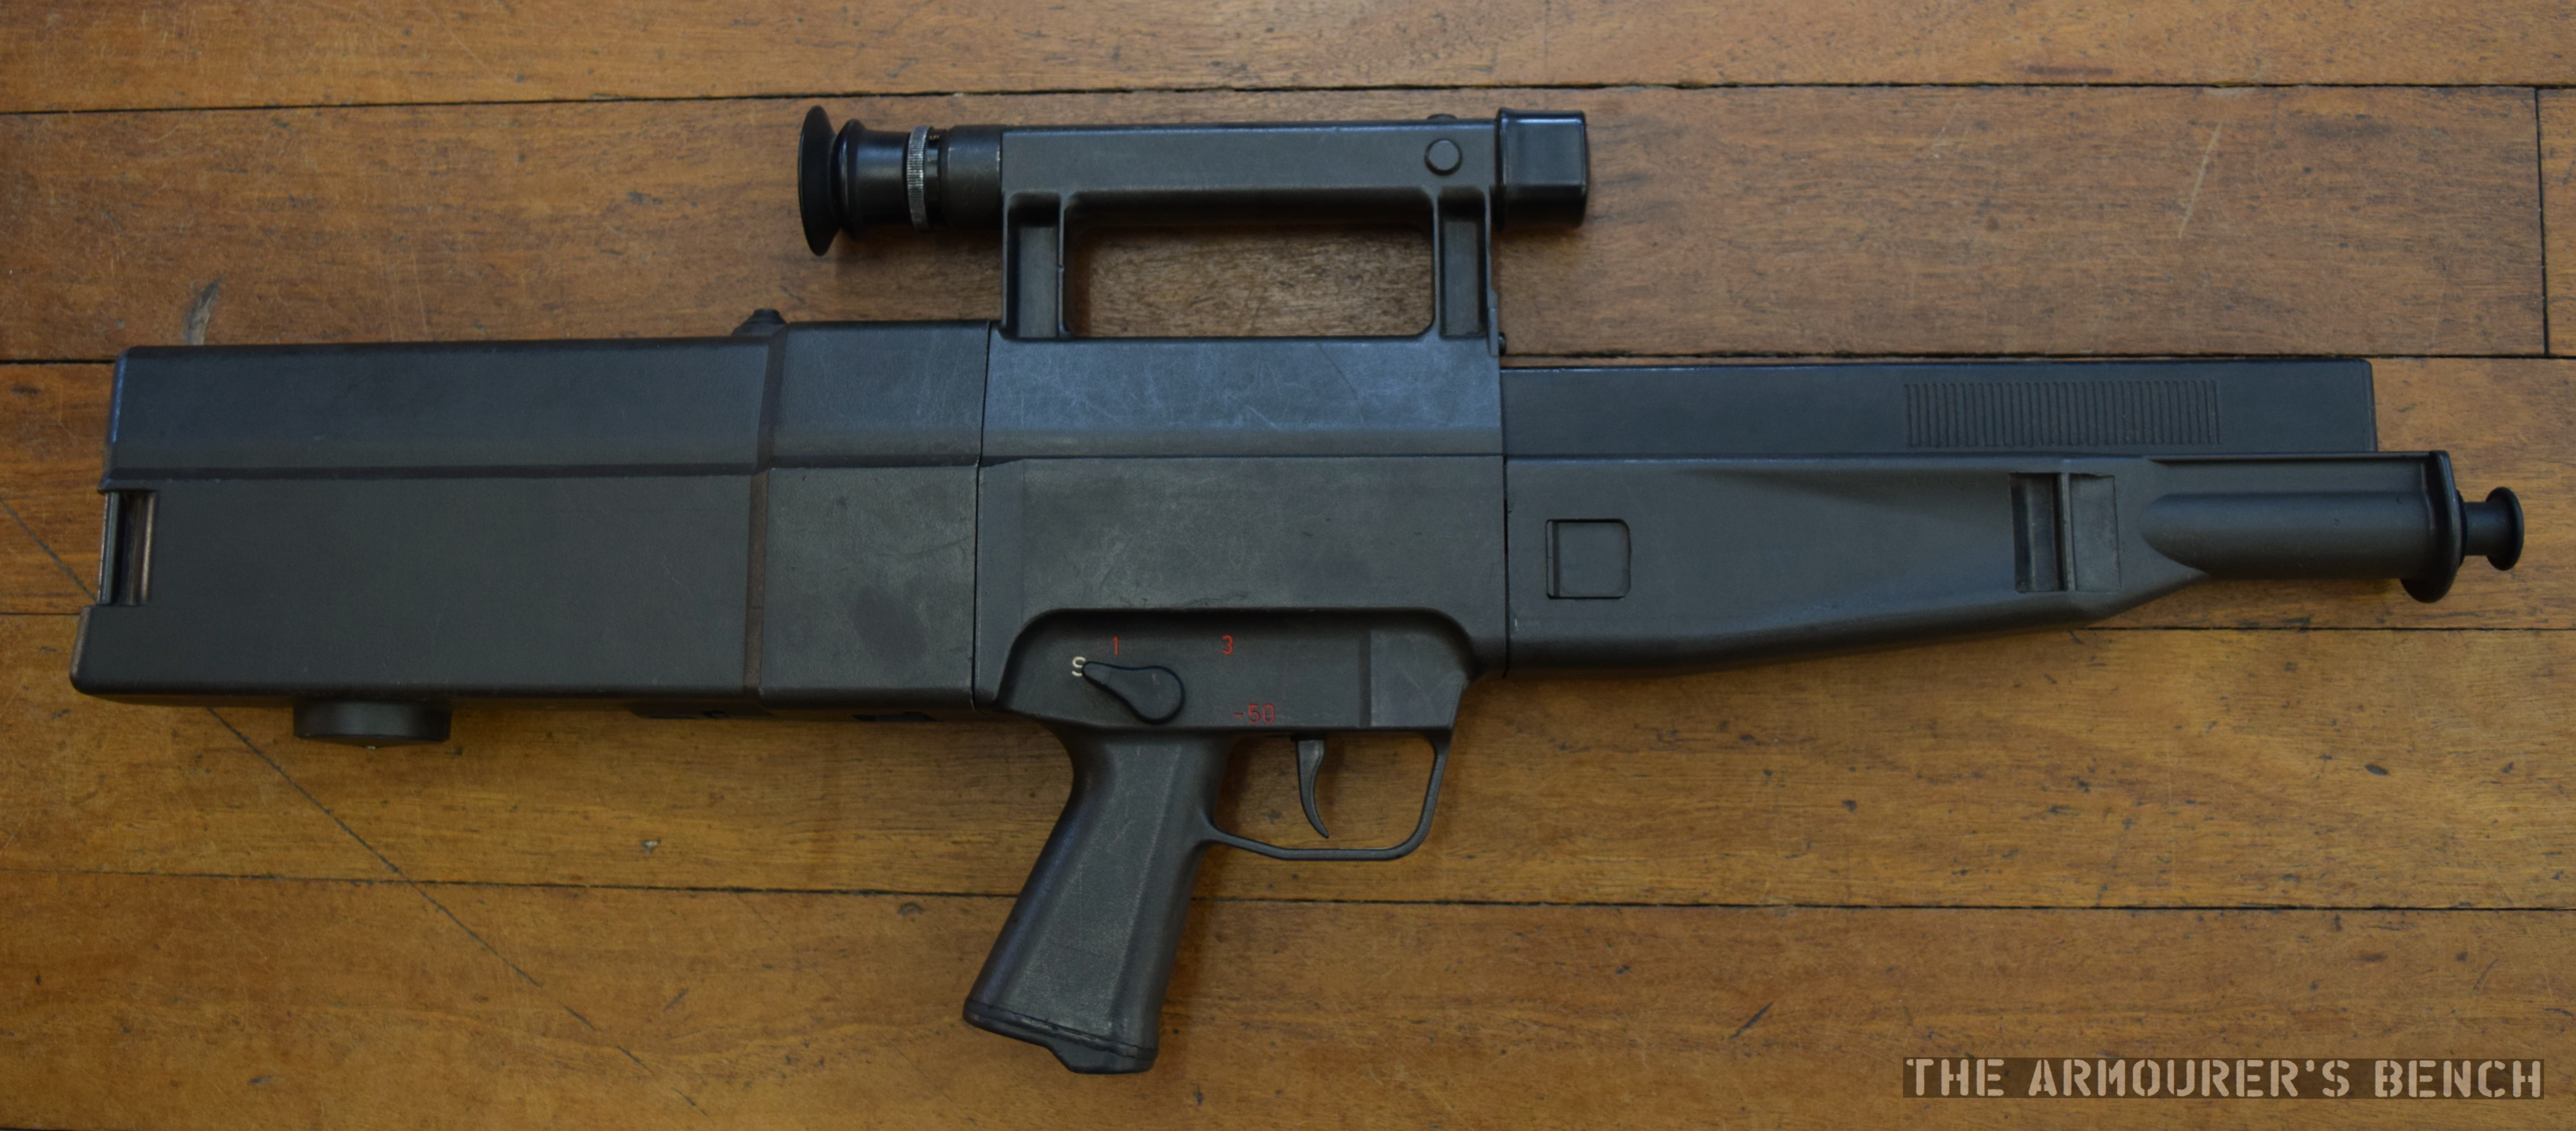
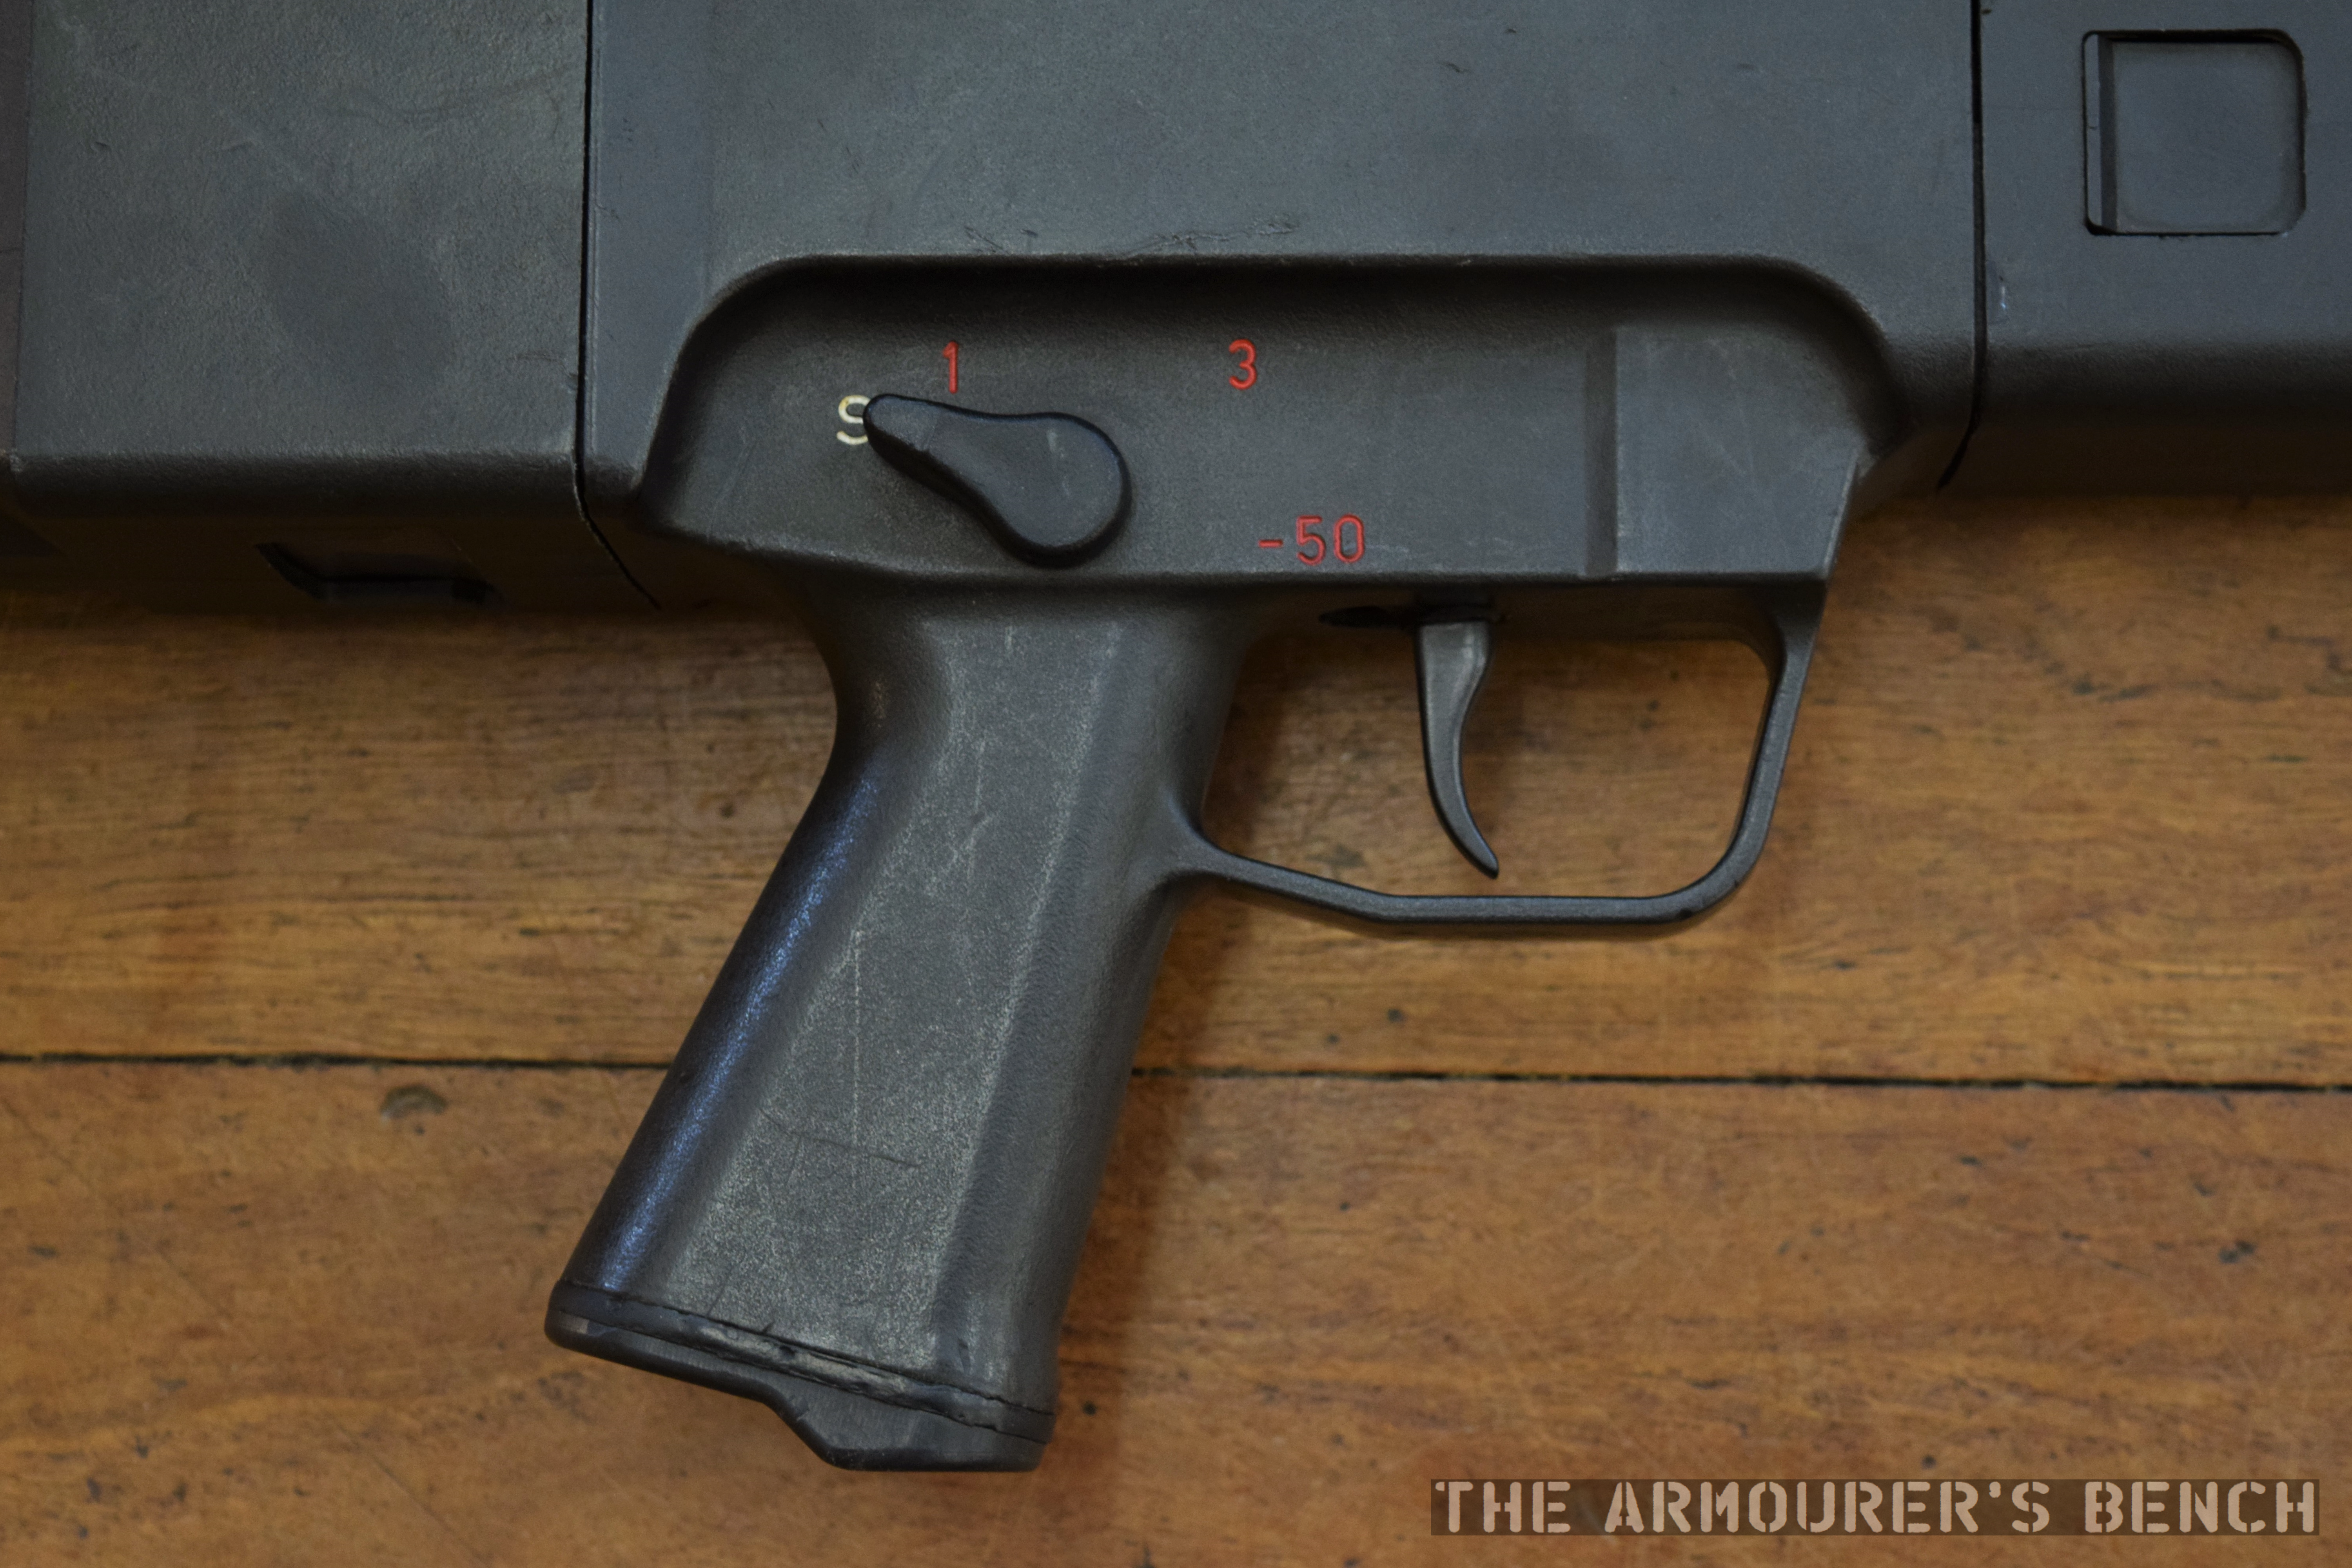
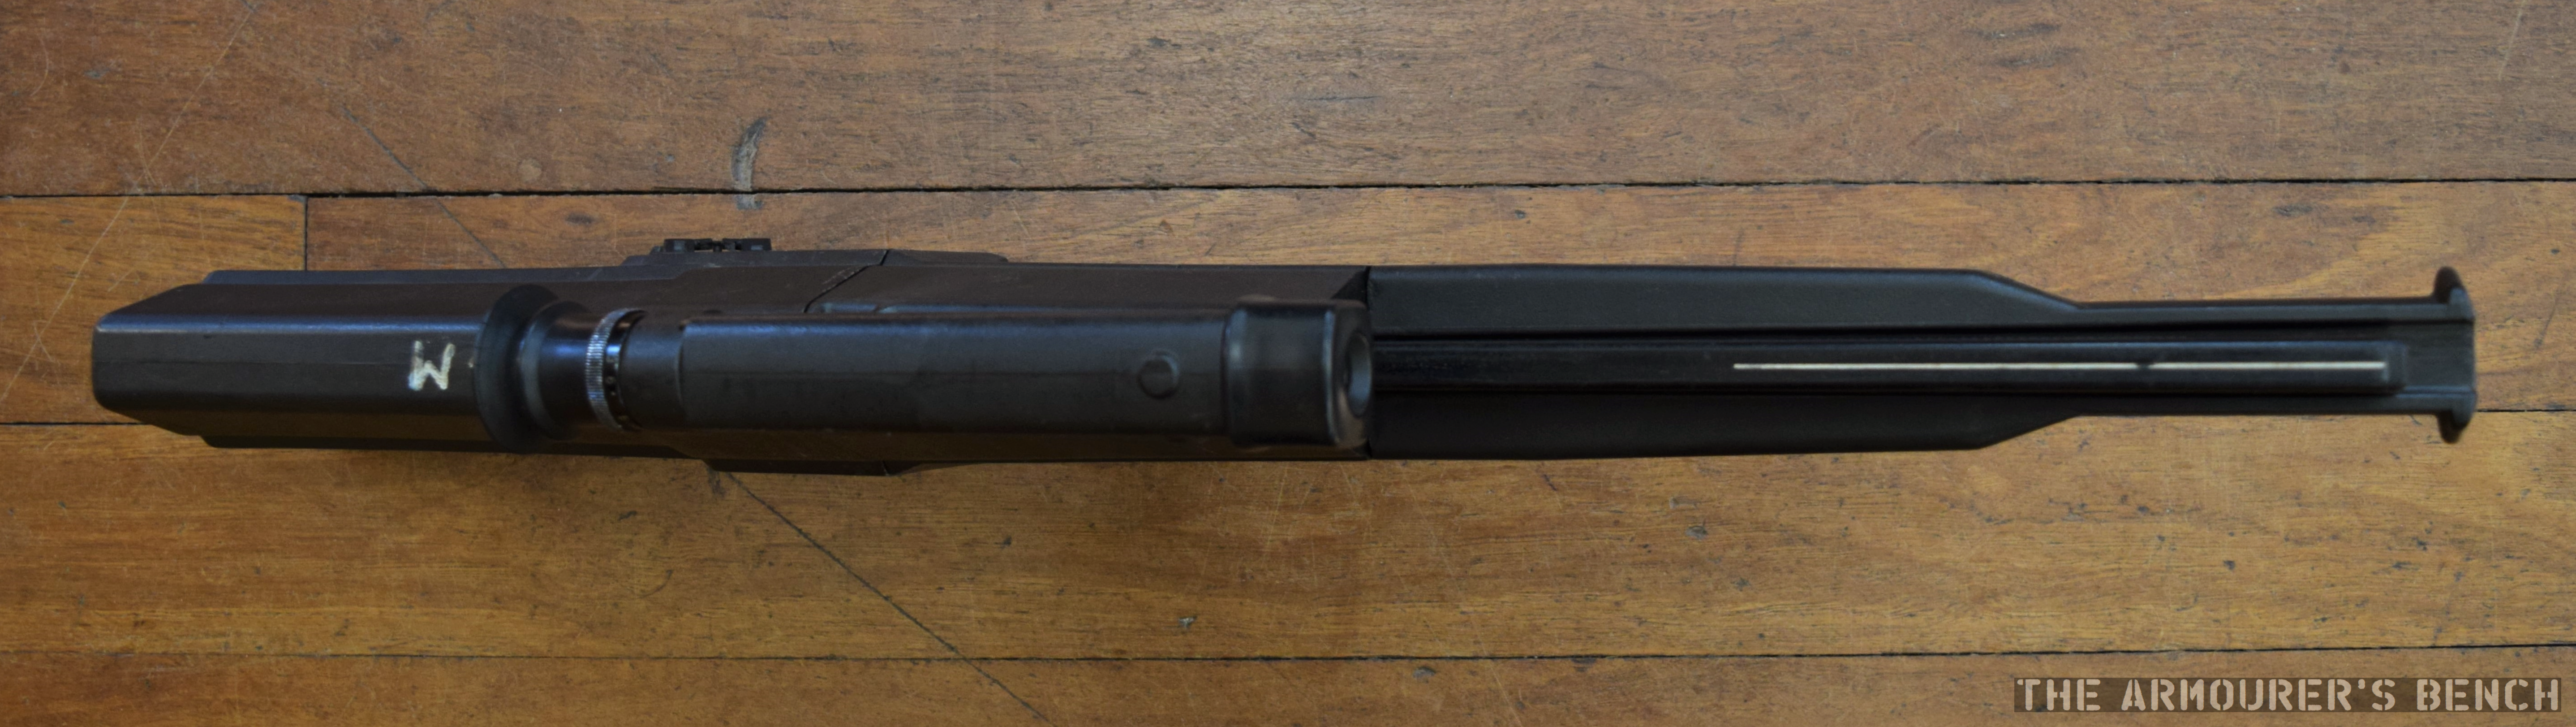
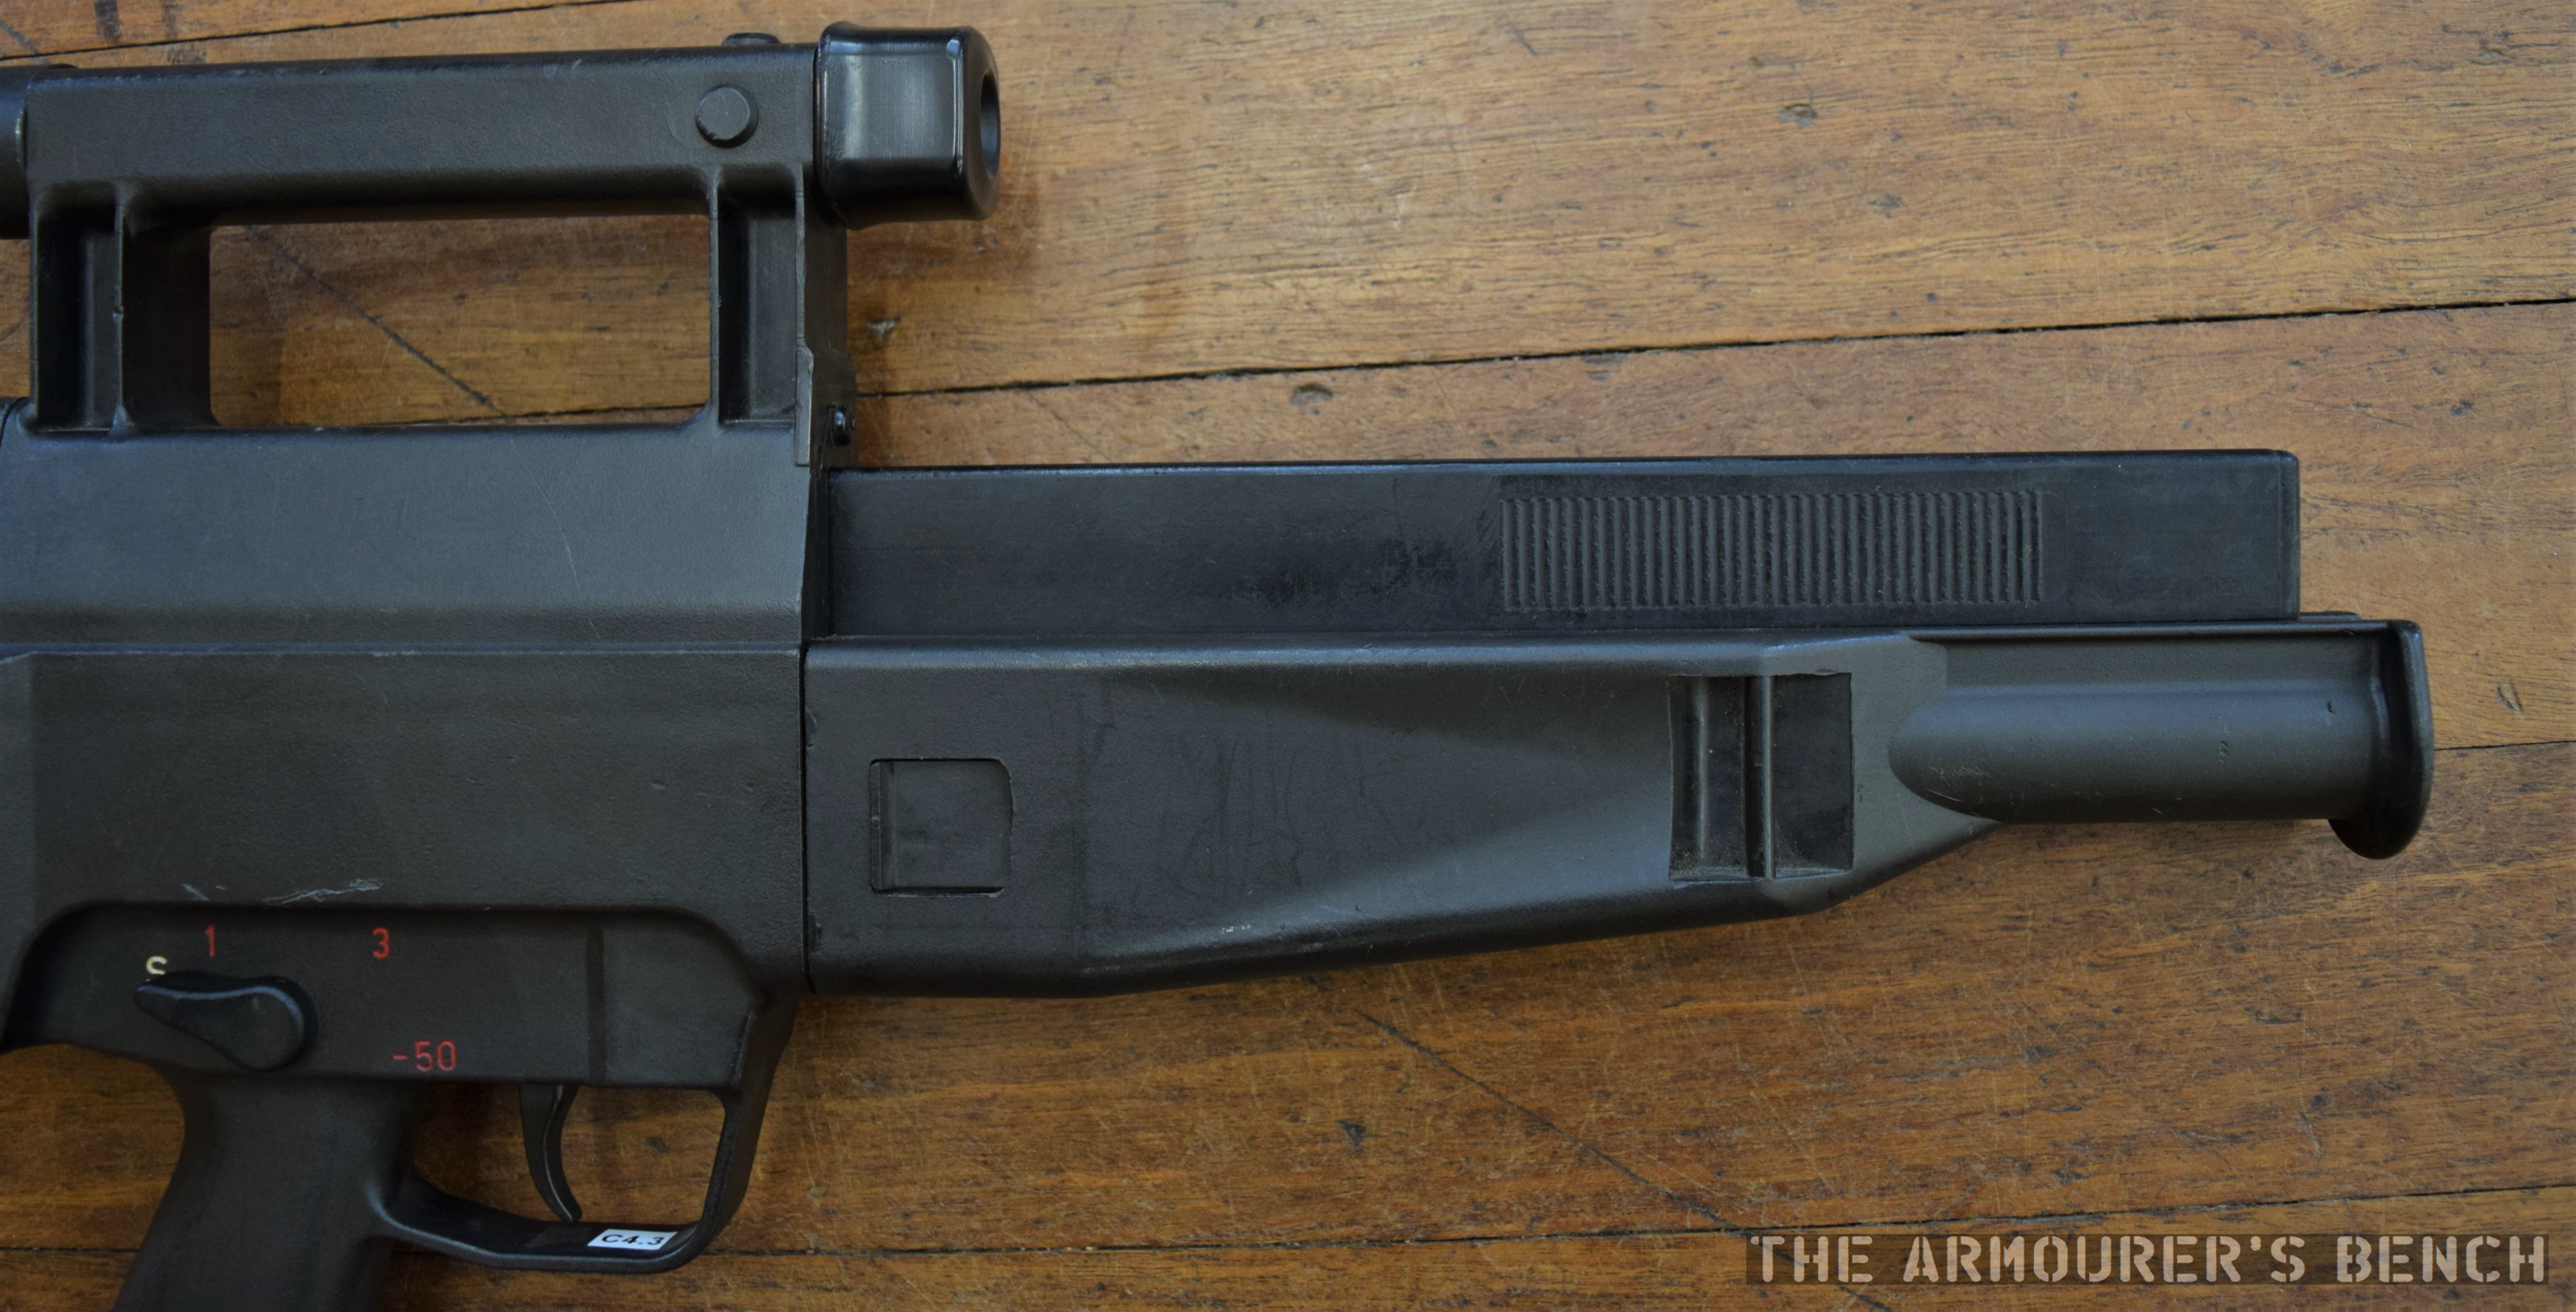
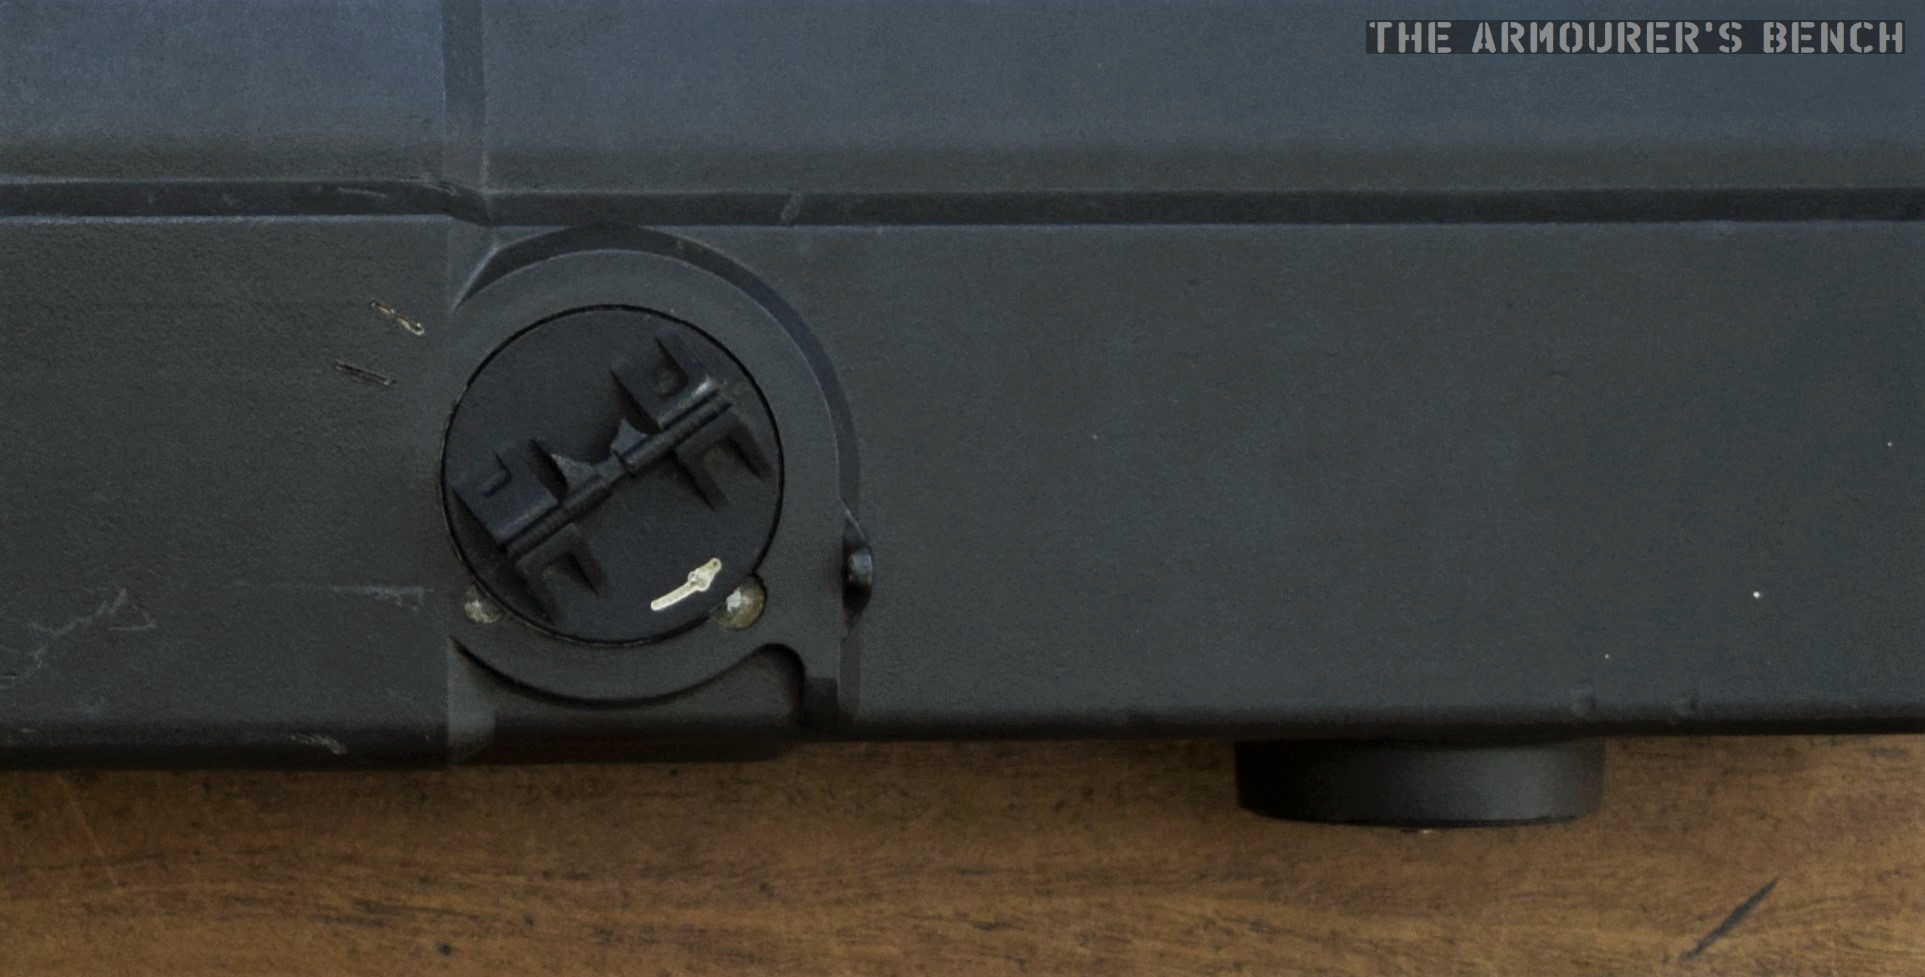
Right side view of the G11, note the muzzle plug inserted into the barrel (Matthew Moss)Left side view of the G11, note the small window in the magazine showing the follower spring (Matthew Moss)Close up of the right side of the G11’s fire selector (safe – semi – hyperburst – full auto), trigger and grip which enclosed a ‘control brush’ used to check the chamber was empty and in cleaning (Matthew Moss)Left side close up of the G11’s selector, trigger and pistol grip – note also the rifle’s designation, serial number, presumably manufacturing date and calibre moulded into the weapon’s casing (Matthew Moss)A view of the G11 from above – note the alignment of the magazine and the lack of later additional channels for spare magazines seen in some G11K2s (Matthew Moss)Close up of the G11’s foregrip and sling loop and an empty magazine loaded into the weapon (Matthew Moss)Close up of the weapon’s rotating ‘cocking handle’and pressure valve, note the white arrow indicating the direction to twist the handle to cock the weapon – the plastic folding handle on this example has sadly broken off, a common issue with G11s (Matthew Moss)Close up of the left side of the G11’s ‘central part’, as HK described it, into which the barrel and breech assembly slide (Matthew Moss)
Many thanks to the collection, which wishes to remain anonymous, that holds this example of the G11 for the opportunity to examine, photograph and film it.
If you enjoyed the video and this article please consider supporting our work here.