Photos: Browning .22 Semi-Automatic

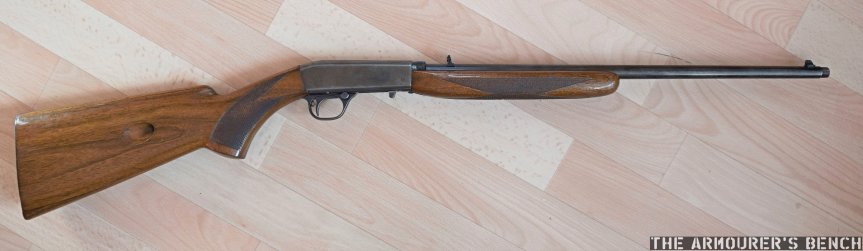
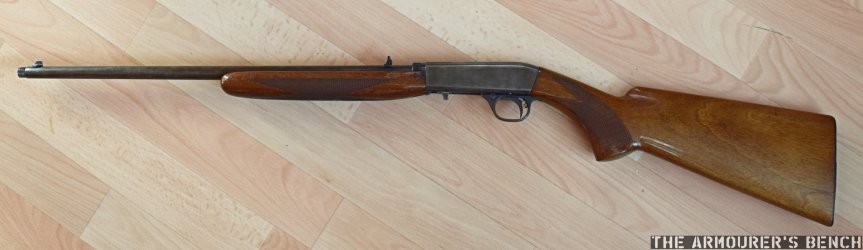
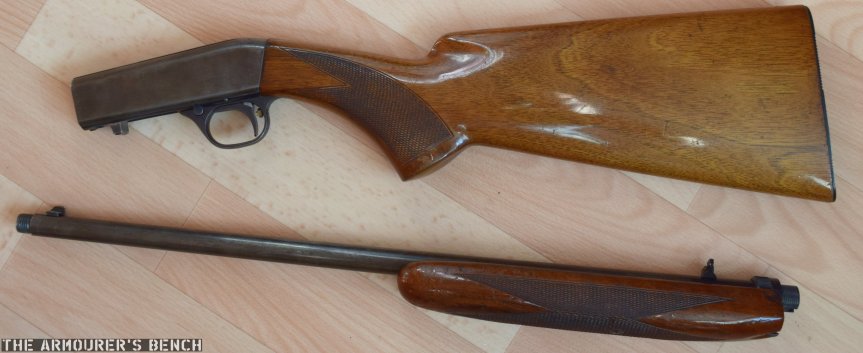
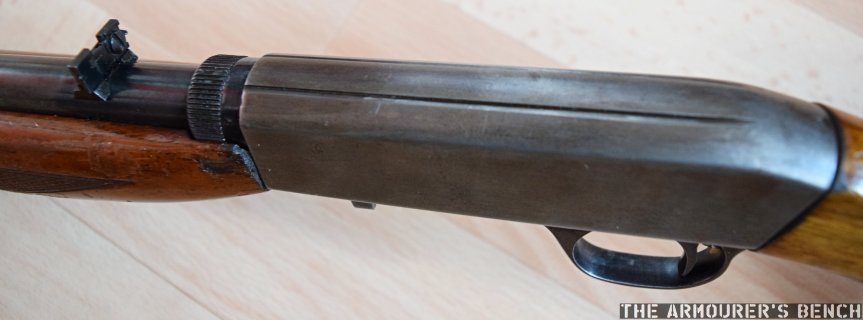
The .22 Semi-Automatic is arguably one of John Browning’s most elegant designs, its balance and handiness is immediately apparent to anyone who has handled or shot one. In our latest video we examined the history behind the design and looked at its features in-depth. You can check out the video and full blog here.

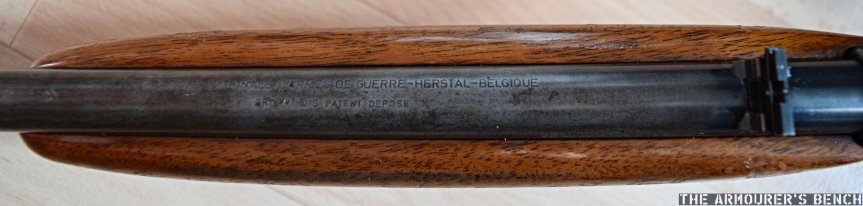
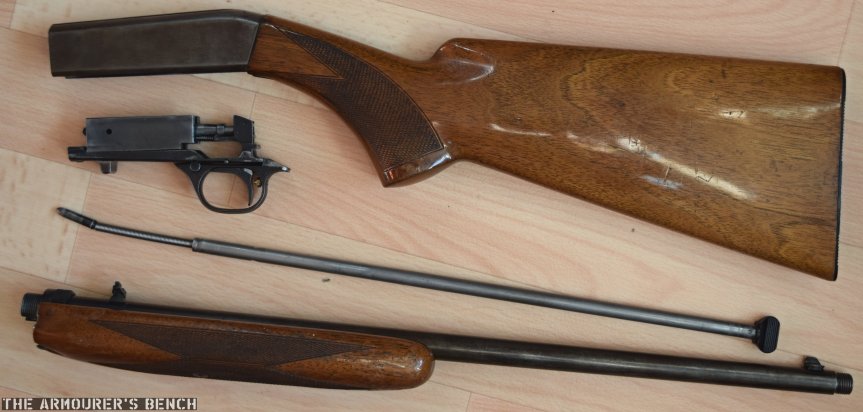
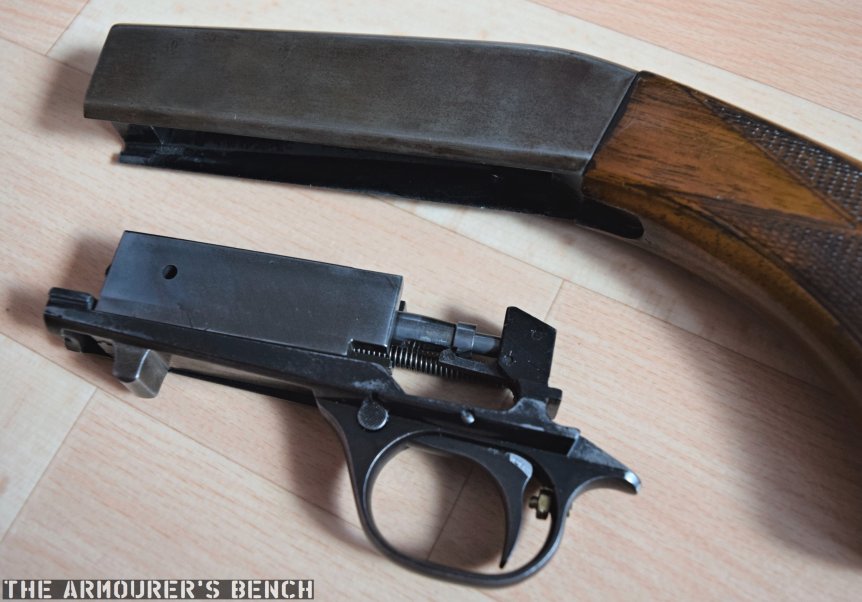
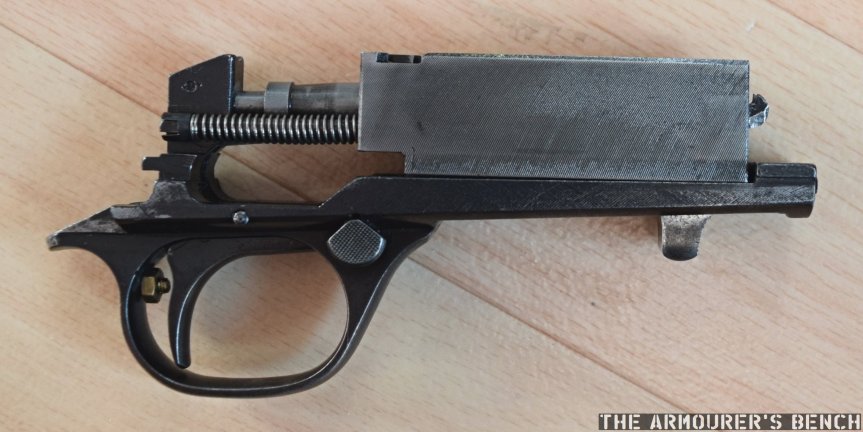
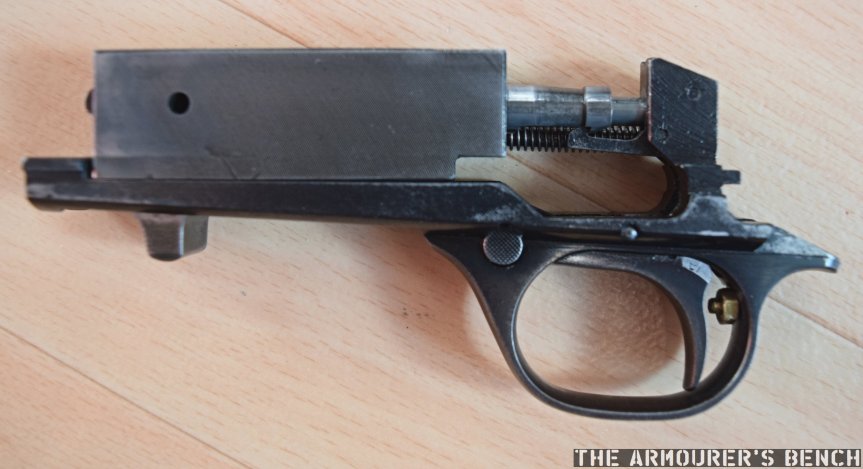
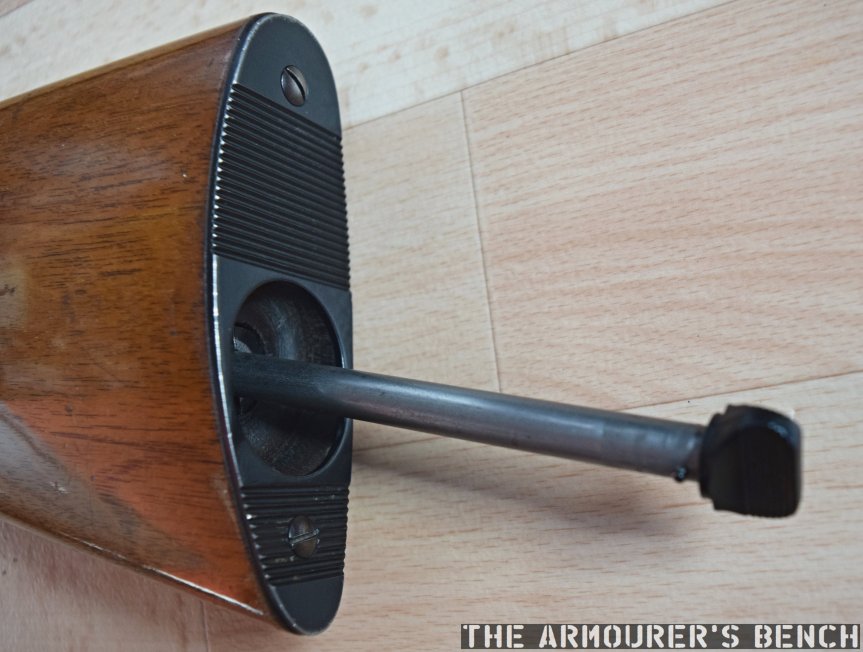
Here are some additional photographs of the rifle:

DSC_0522
Right side view of the SA .22 (Matthew Moss)
DSC_0519a
Left side view of the SA .22 (Matthew Moss)
DSC_0518
The .SA .22 is a takedown rifle and splits into two pieces making it more compact for transport (Matthew Moss)
DSC_0528
Here we can see the rifle’s sight, barrel takedown tension ring and notches cut into the top of the receiver for mounting a scope (Matthew Moss)
DSC_0527
The rifle’s FN Herstal markings (Matthew Moss)
DSC_0541
The rifle disassembled with the magazine tube removed and bolt and trigger assembly removed from the receiver (Matthew Moss)
DSC_0536
The trigger group and bolt slide into the receiver on a pair of internal rails (Matthew Moss)
DSC_0535
Close up of the right side o the bolt and trigger group (Matthew Moss)
DSC_0533
Close up of the left side o the bolt and trigger group(Matthew Moss)
DSC_0530
The butt plate and magazine follower (Matthew Moss)